
Clearing jams
If the control panel displays a paper jam message, look for paper in the locations indicated in the following graphic. You might
need to look for paper in locations other than indicated in the paper jam message. If the location of the paper jam is not
obvious, look first in the front door area.
After looking at the graphic, you can go to the procedure for clearing the jam. When clearing jams, be very careful not to tear
the paper. If a small piece of paper is left in the product, it could cause additional jams. If jams are a recurring problem, see
“Solving repeated paper jams” on page 116
.
Note
Loose toner might remain in the product after a paper jam and cause output quality problems. These should clear up
within a few pages.
7 Problem solving
96
Clearing jams
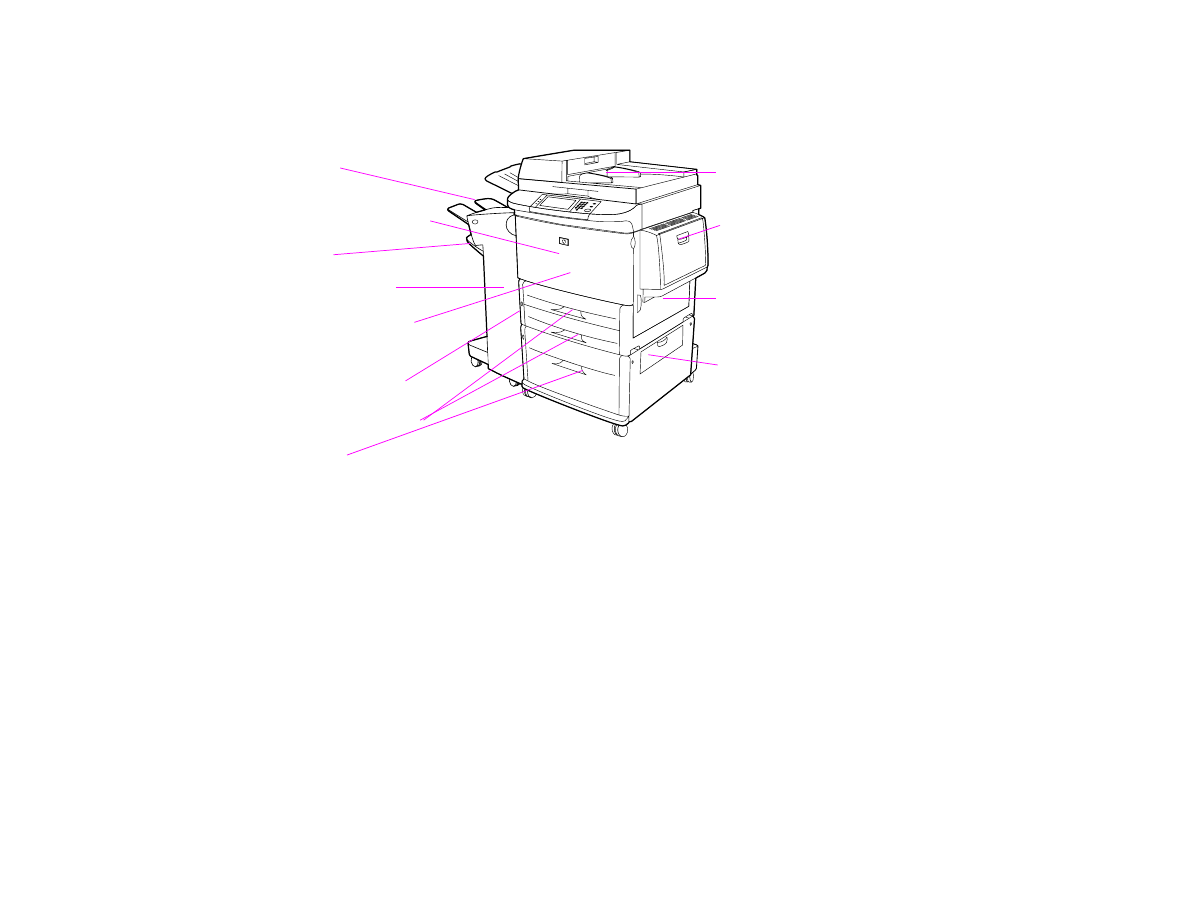
Jam locations
Tray 1
Right door
Vertical transfer door
Tray 4
Tray 2 and Tray 3
Left door
(behind the
output device)
Output device
Front door and
print cartridge area
ADF
Bin 1
Duplexer (inside
the printer)
Bin 2
HP LaserJet 9000mfp/HP LaserJet 9000Lmfp
with the 3000-sheet stapler/stacker
7 Problem solving
97
Clearing jams