Clearing jams from the input tray areas
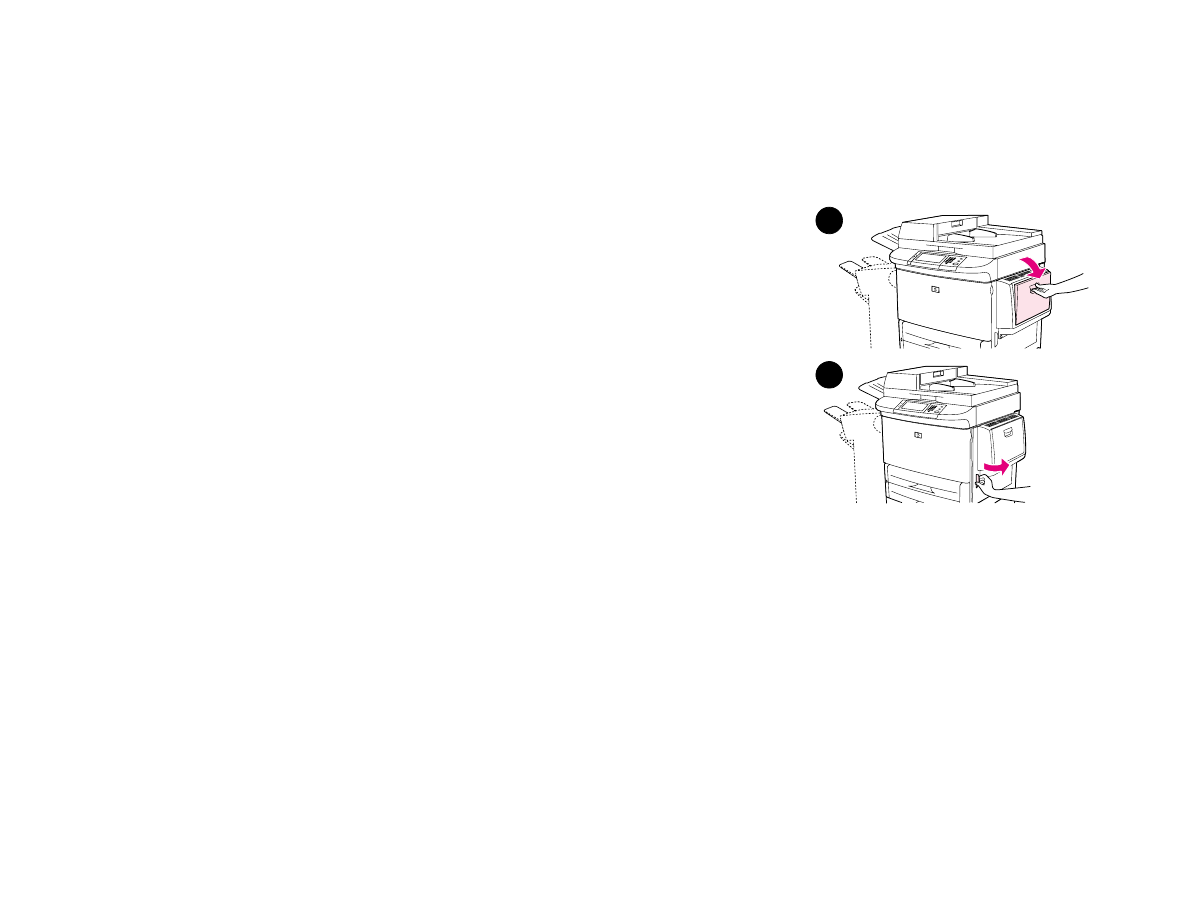
To clear jams in Tray 1
1
Check for paper in the Tray 1 area, and remove any paper from this area.
Carefully check to be sure you have removed all pieces of torn paper.
2
Open and close the right door to reset the product.
1
2
7 Problem solving
98
Clearing jams
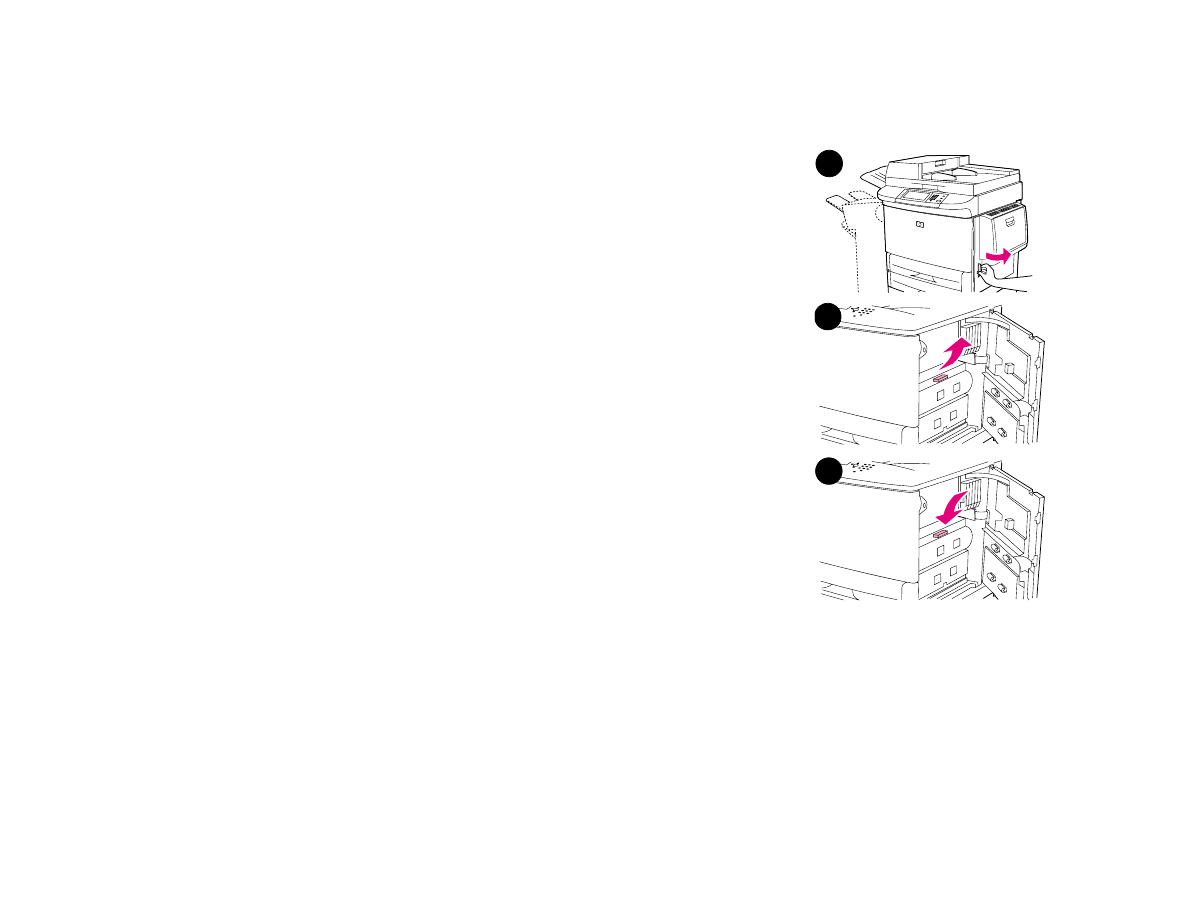
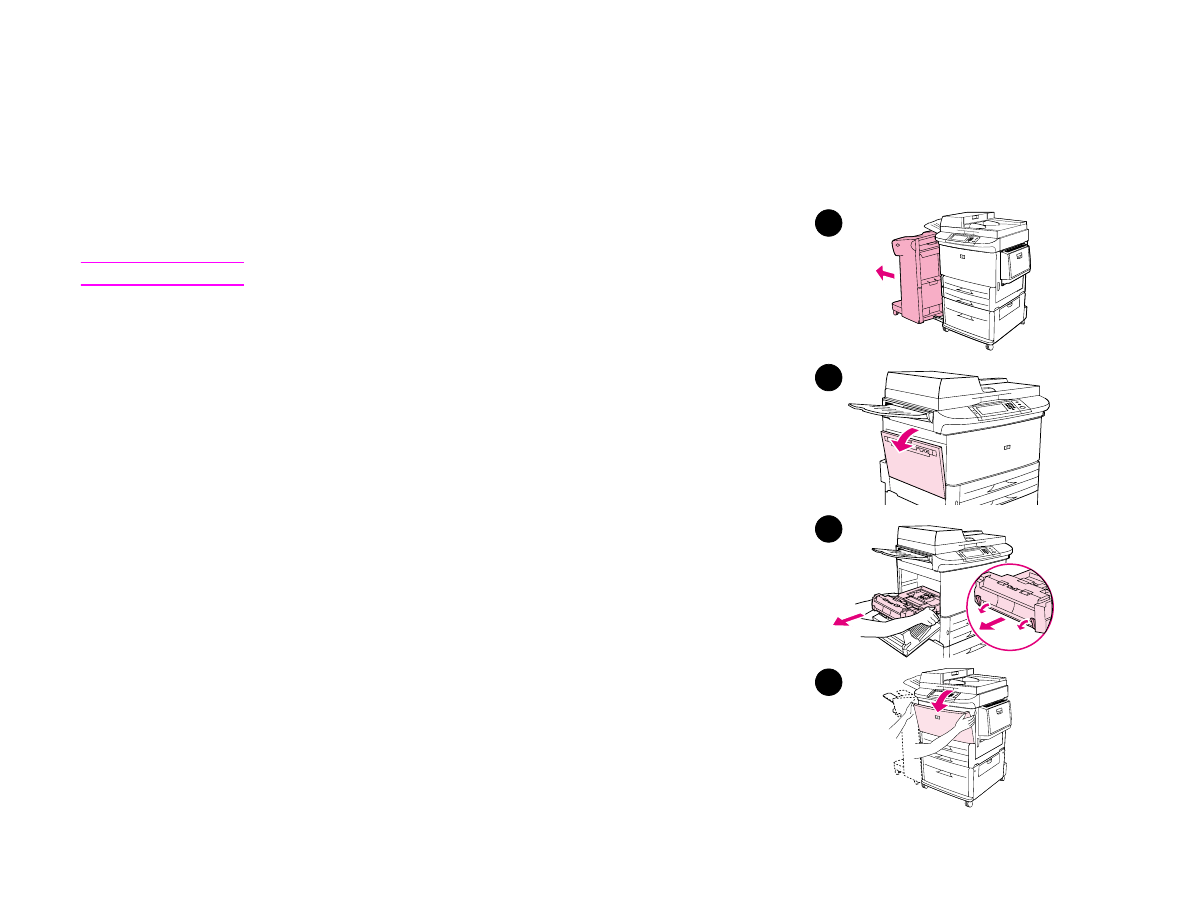
To clear jams inside the right door
1
Open the right door.
2
Check for paper in the right door area, and remove any paper from this area.
Carefully check to be sure you have removed all pieces of torn paper.
3
Open the jam access cover. Pull out and lift the green tab.
4
Remove any paper from this area by pulling it out of the product.
5
Push the green lever down to original position.
6
Close the right door.
1
3
5
7 Problem solving
99
Clearing jams
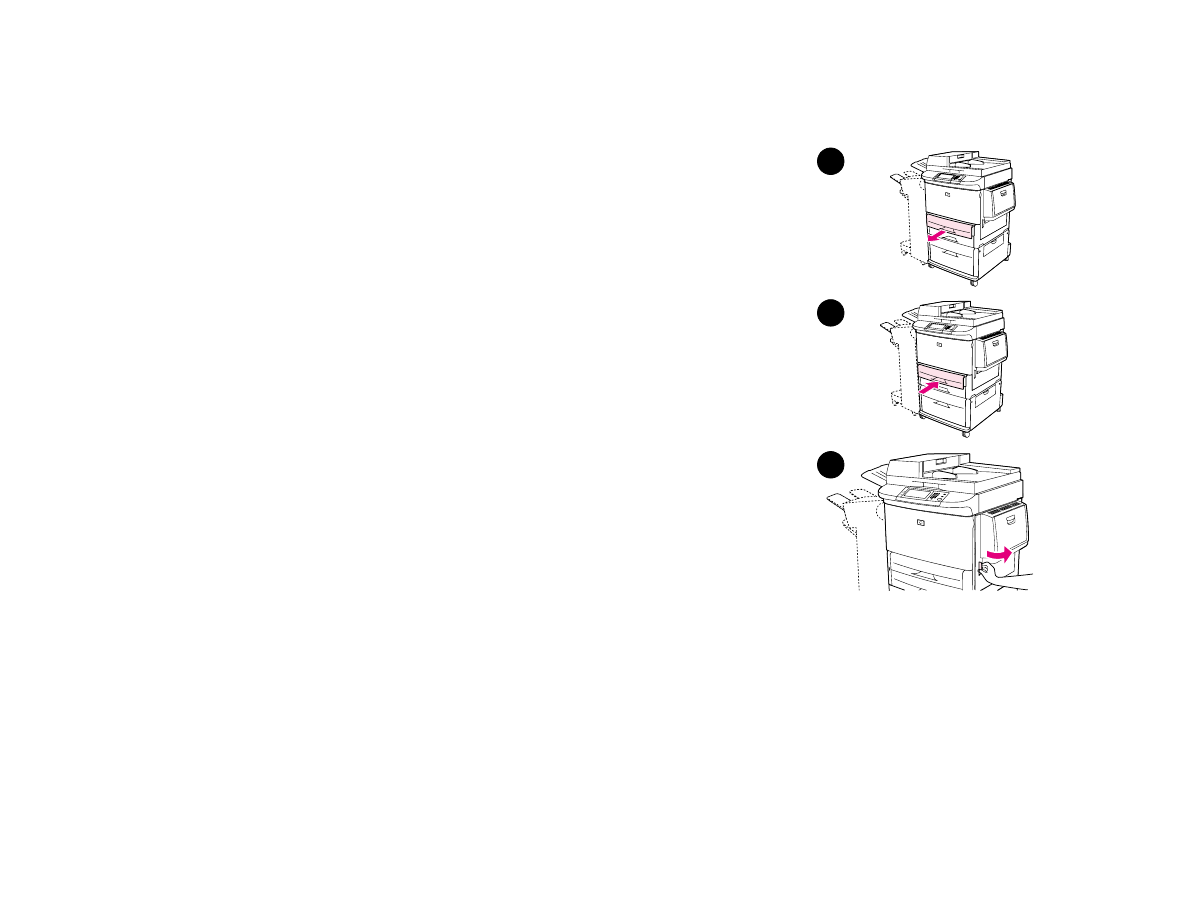
To clear jams in Trays 2 and 3
1
Open the tray until it stops.
2
Check for paper in the tray area, and remove any paper from this area. Carefully
check to be sure you have removed all pieces of torn paper.
3
Close the tray.
4
Open and close the right door to reset the product.
1
4
3
7 Problem solving
100
Clearing jams
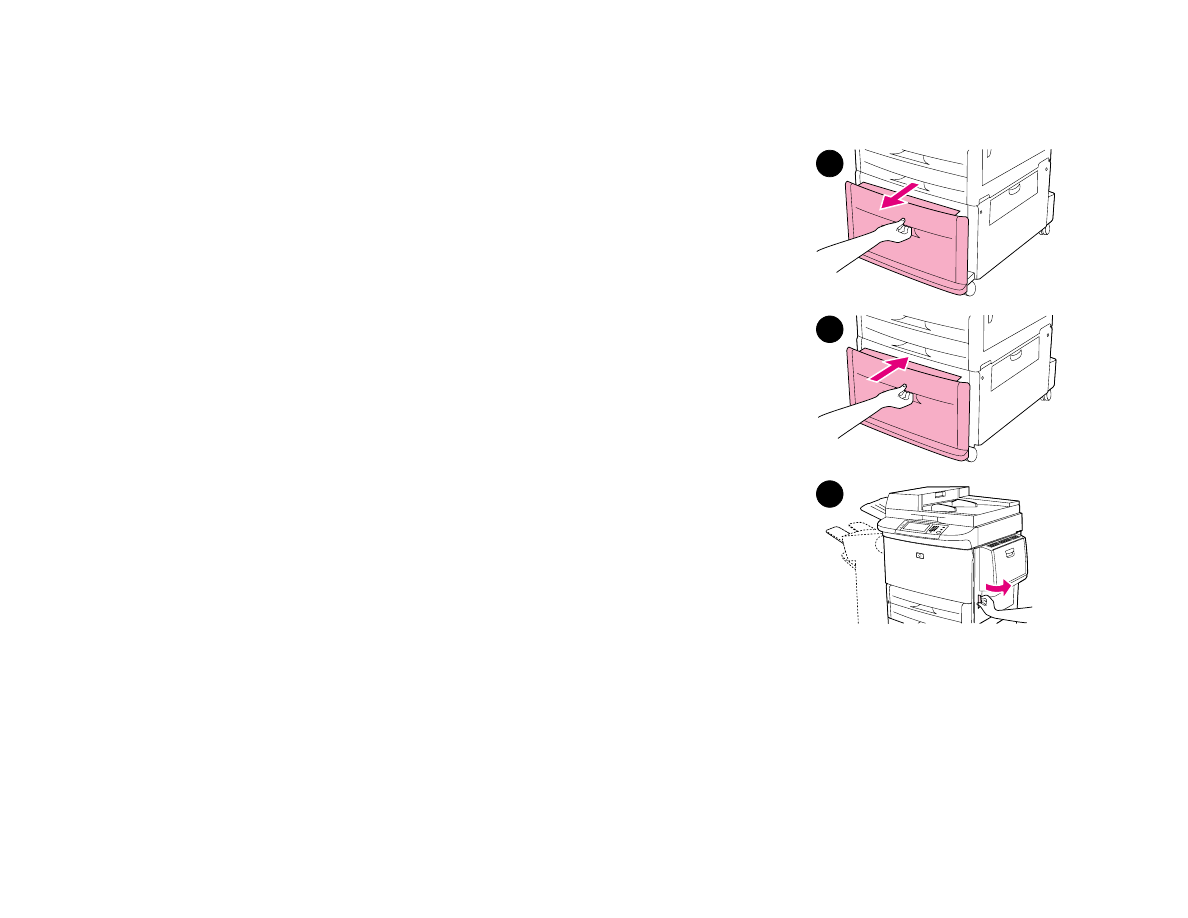
To clear jams in Tray 4
1
Open Tray 4.
2
Check for paper in the tray area, and remove any paper from this area. Carefully
check to be sure you have removed all pieces of torn paper.
3
Close Tray 4.
4
Open and close the right door to reset the product.
1
3
4
7 Problem solving
101
Clearing jams