
Clearing jams from the output areas
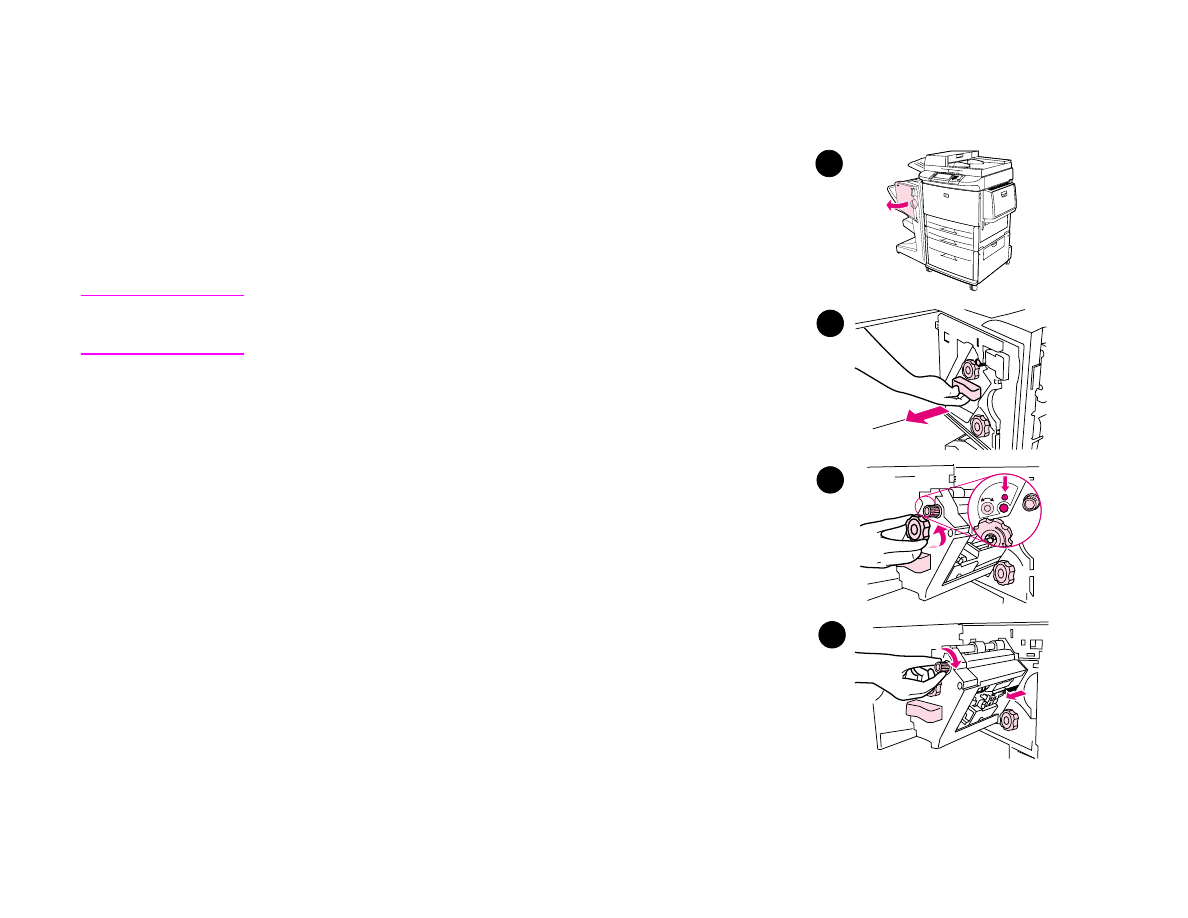
To clear jams in the stacker or stapler/stacker
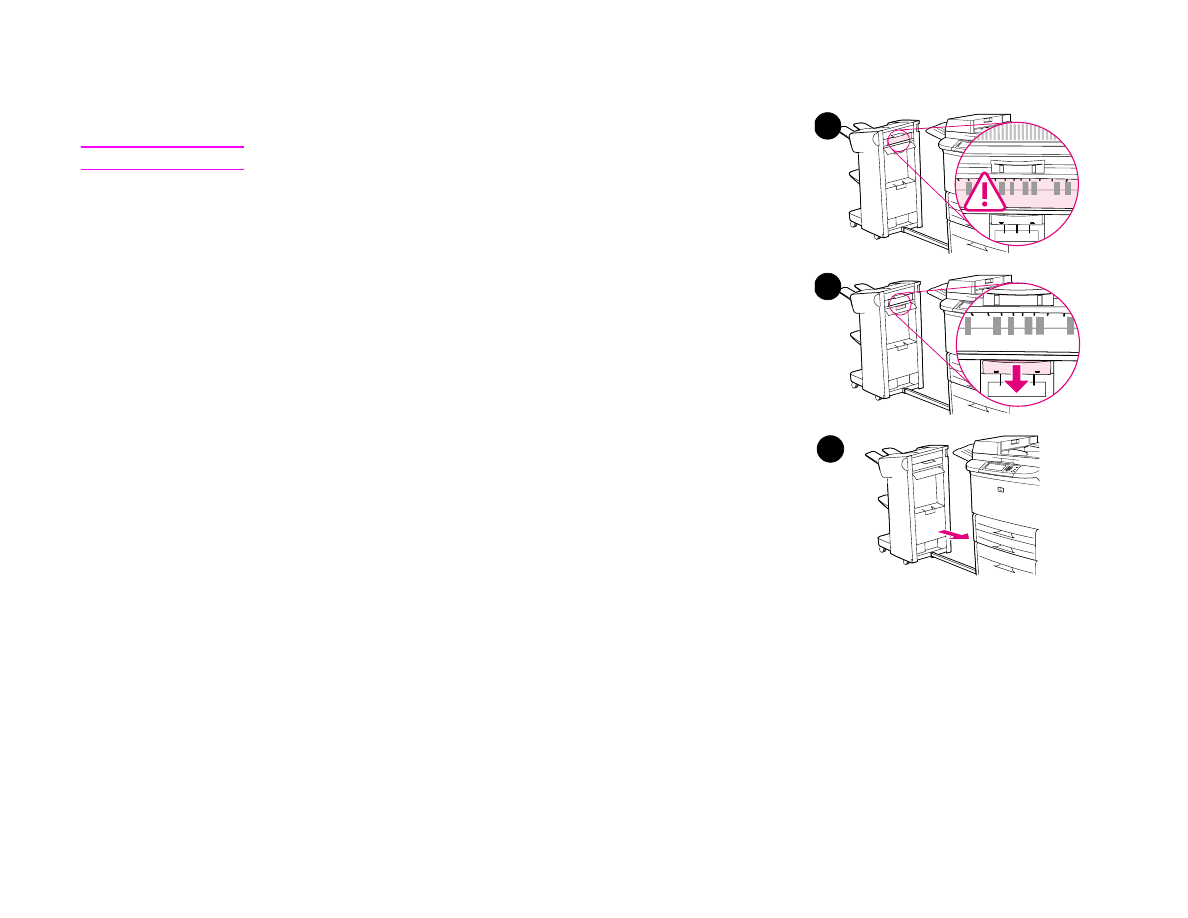
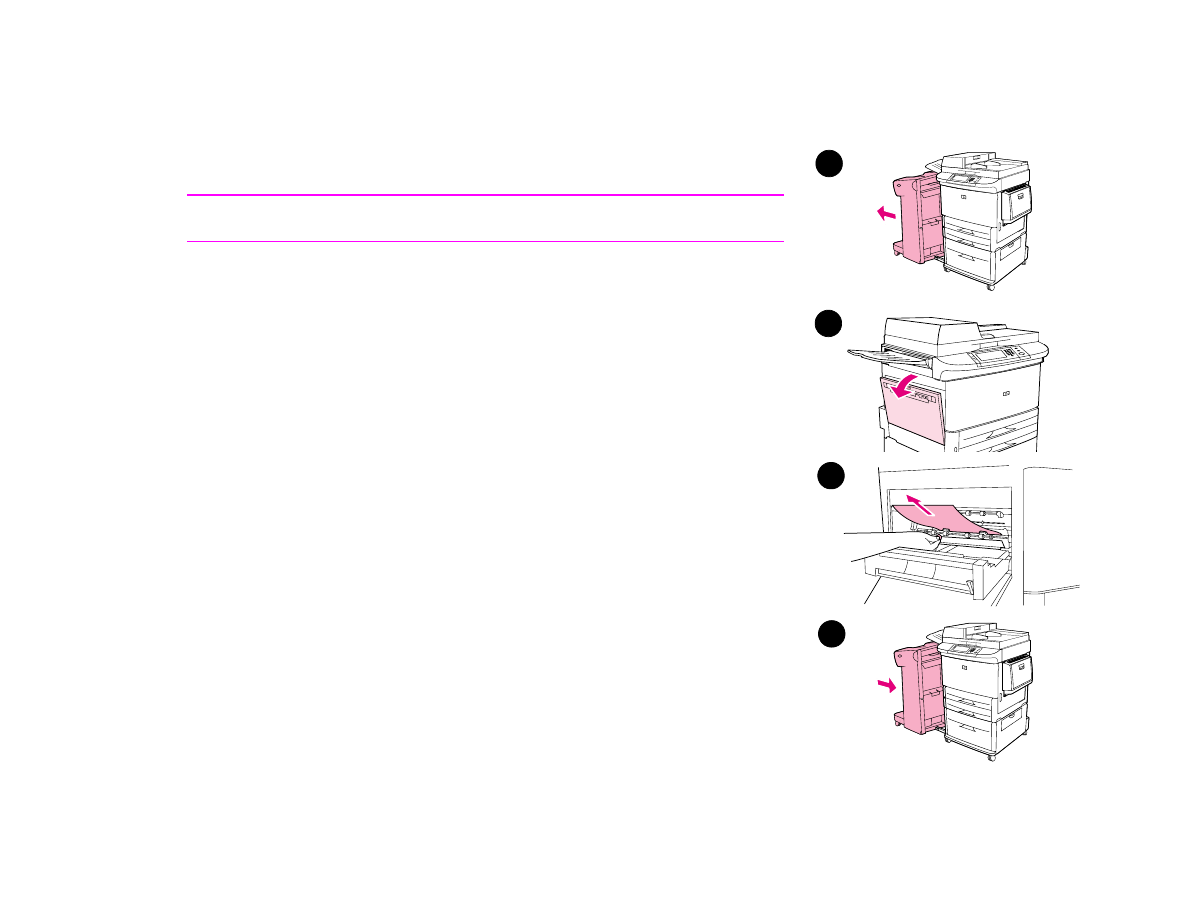
1
If the jam extends into the output bins, slowly and carefully pull the paper
straight out of the product so that it does not tear.
2
Move the output device away from the product.
3
On the stacker, lift the wire on Bin 2 of the device, and carefully pull out any
paper from this area. If you have a stapler/stacker. On the stapler/stacker,
carefully pull out any paper that might be protruding from the accumulator area.
Note
Only the stacker has the wire on Bin 2.
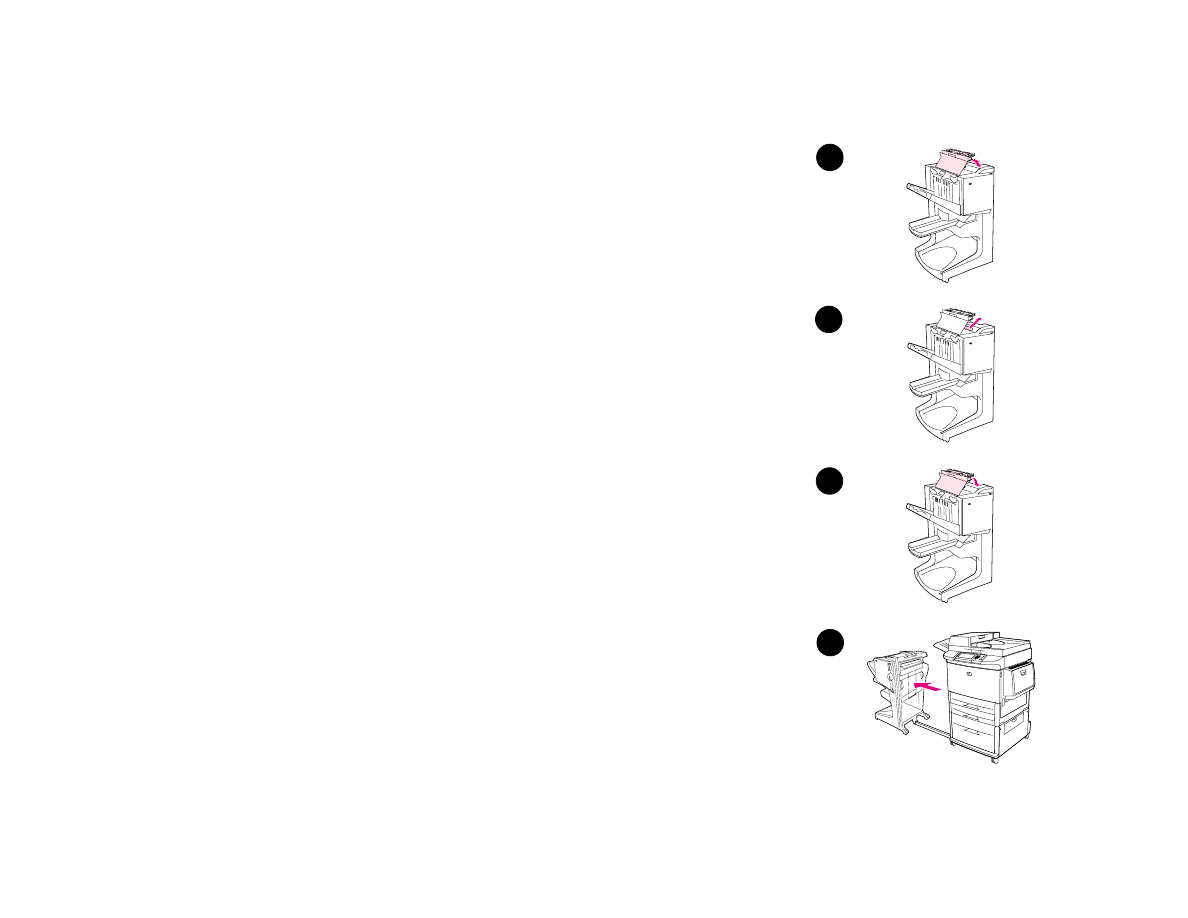
4
Locate the green handle in the flipper area and lift the handle.
1
2
3
4
7 Problem solving
104
Clearing jams
5
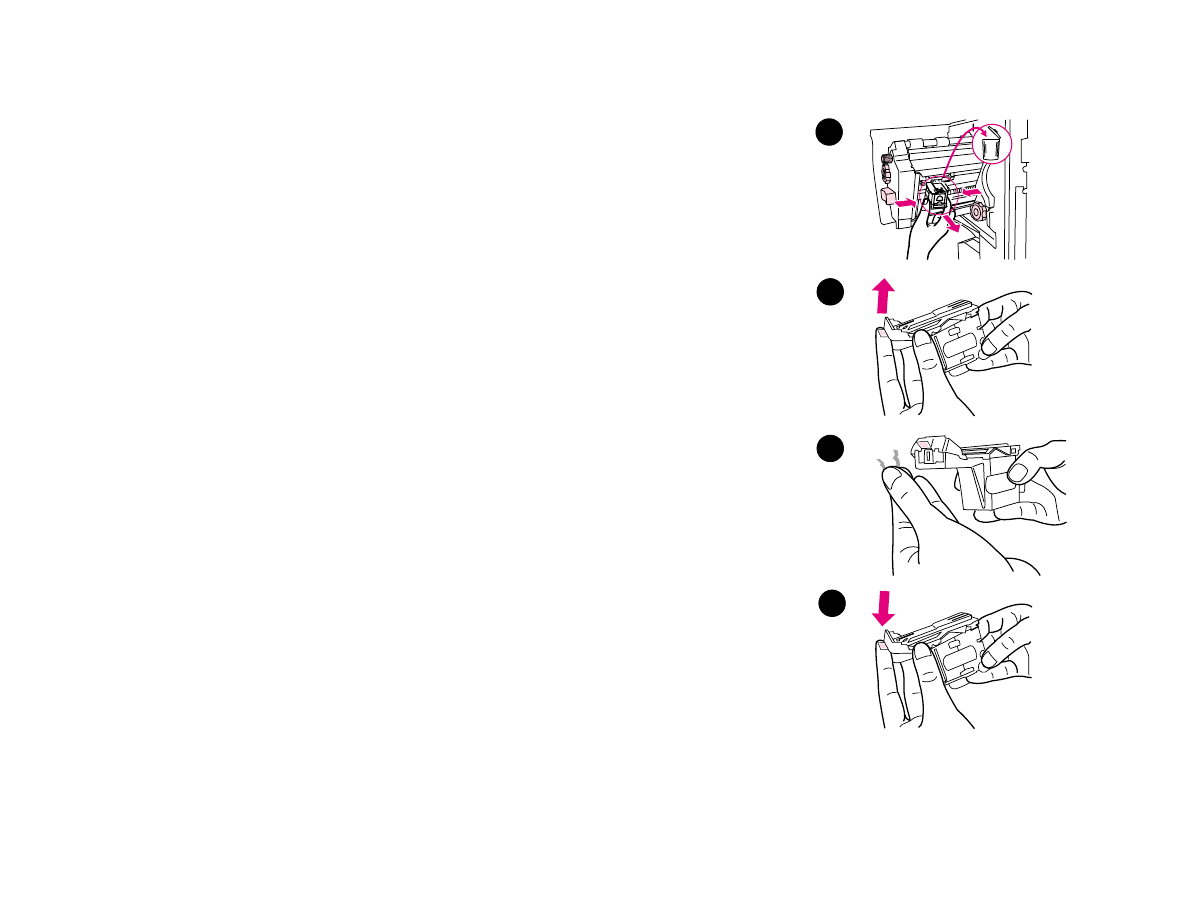
Carefully pull out any paper from the flipper area.
WARNING!
Avoid touching the flipper area. It can be HOT.
6
Locate the green handle in the paper path module, and then pull down on the
handle.
7
Carefully pull out any paper from the paper path module.
8
Close all open doors. Push the output device back into place.
5
6
8
7 Problem solving
105
Clearing jams
To clear jams in the multifunction finisher
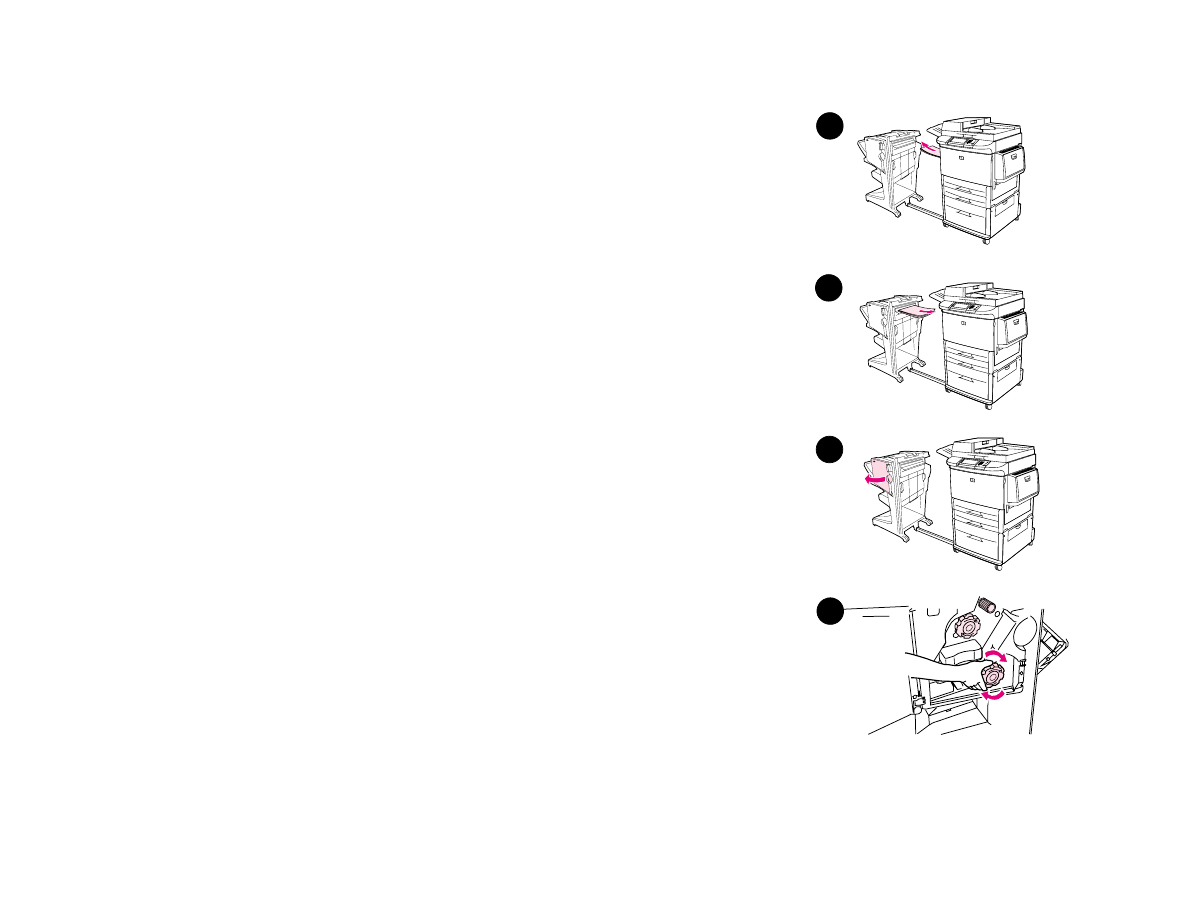
1
Open the finisher cover.
2
Slowly and carefully pull the paper straight out of the finisher so that it does not
tear.
3
Close the finisher cover.
4
Move the finisher away from the product.
2
1
3
4
7 Problem solving
106
Clearing jams
5
Carefully remove any paper from the printer output area.
6
Carefully remove any paper from the finisher input area.
7
Open the stapler-unit door.
8
To clear a booklet jam, turn the bottom green knob clockwise to remove the
booklet.
6
5
7
8
7 Problem solving
107
Clearing jams
9
Close the stapler-unit door.
10
Reattach the finisher.
10
9
7 Problem solving
108
Clearing jams
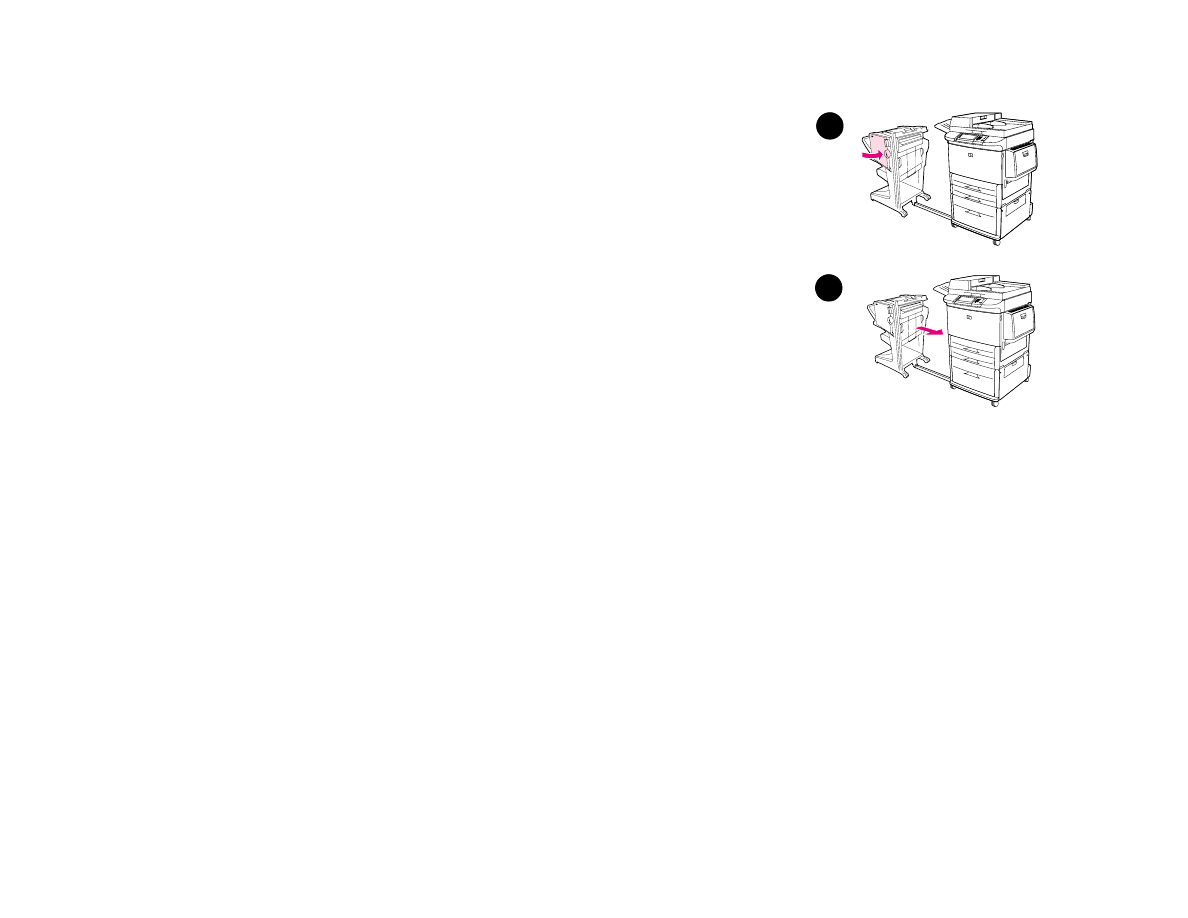
To clear jams in the left door (fuser area)
1
Move the output device away from the product to gain access to the left door.
2
Open the left door.
WARNING!
Avoid touching the adjacent fusing area. It can be HOT.
3
Remove any jammed or damaged paper from this area by pulling it out of the
product.
4
Press down on the green tab and carefully check for paper. Be sure to remove
all pieces of torn paper.
5
Close the left door. Push the output device back into place.
1
4
5
2
7 Problem solving
109
Clearing jams
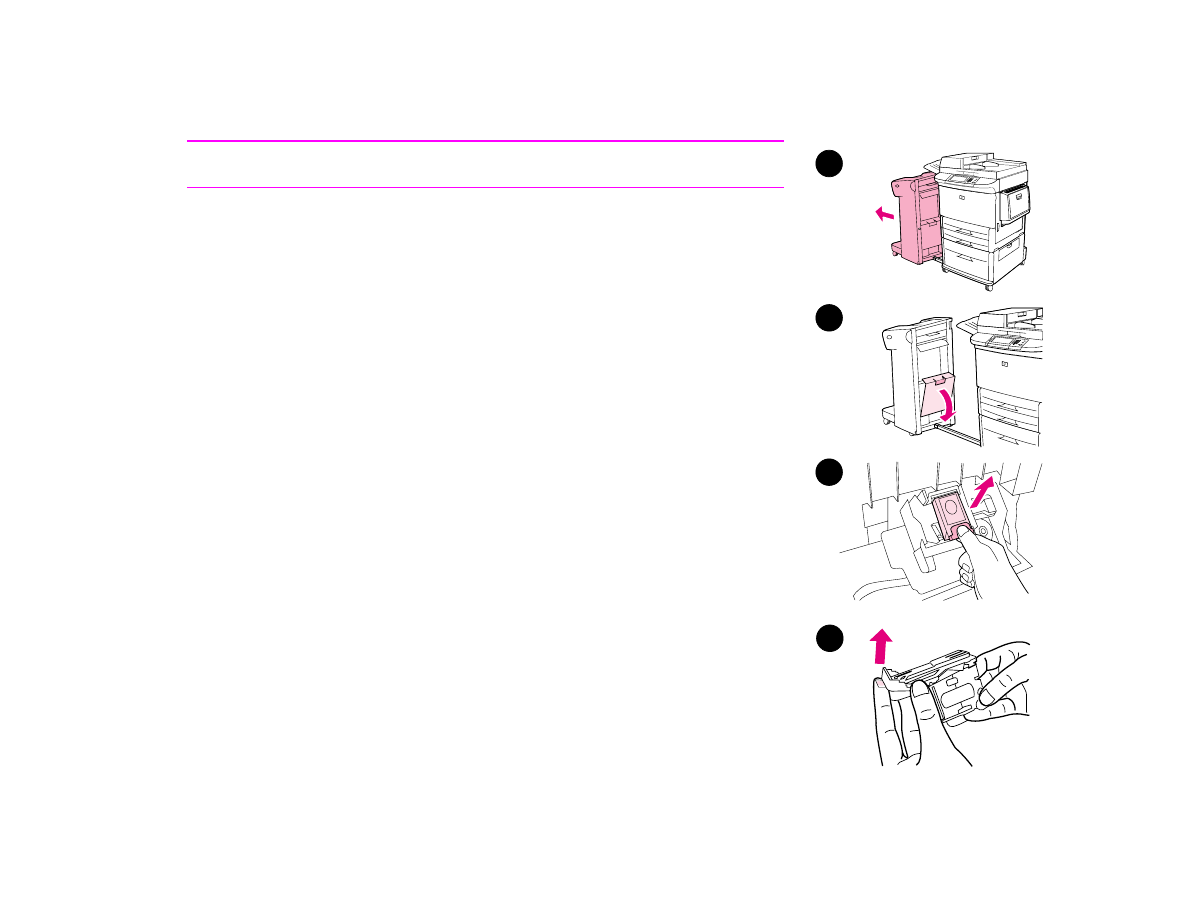
To clear a staple jam from the stapler/stacker
Note
The message
JAM INSIDE STAPLER
displays on the control panel.
1
Move the stapler/stacker away from the product.
2
Open the stapler unit door.
3
Pull the car tridge out.
4
Pull up on the lever labeled with a green dot.
1
2
3
4
7 Problem solving
110
Clearing jams
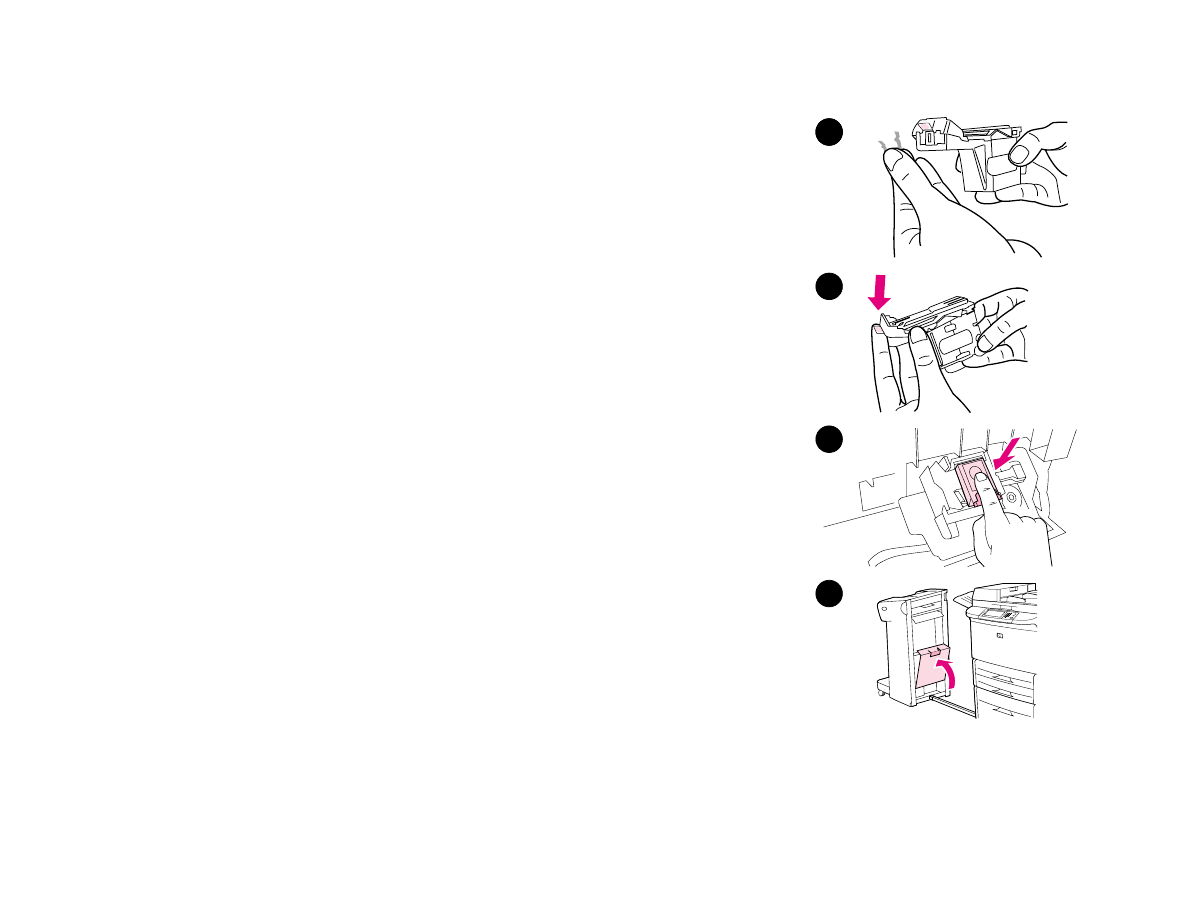
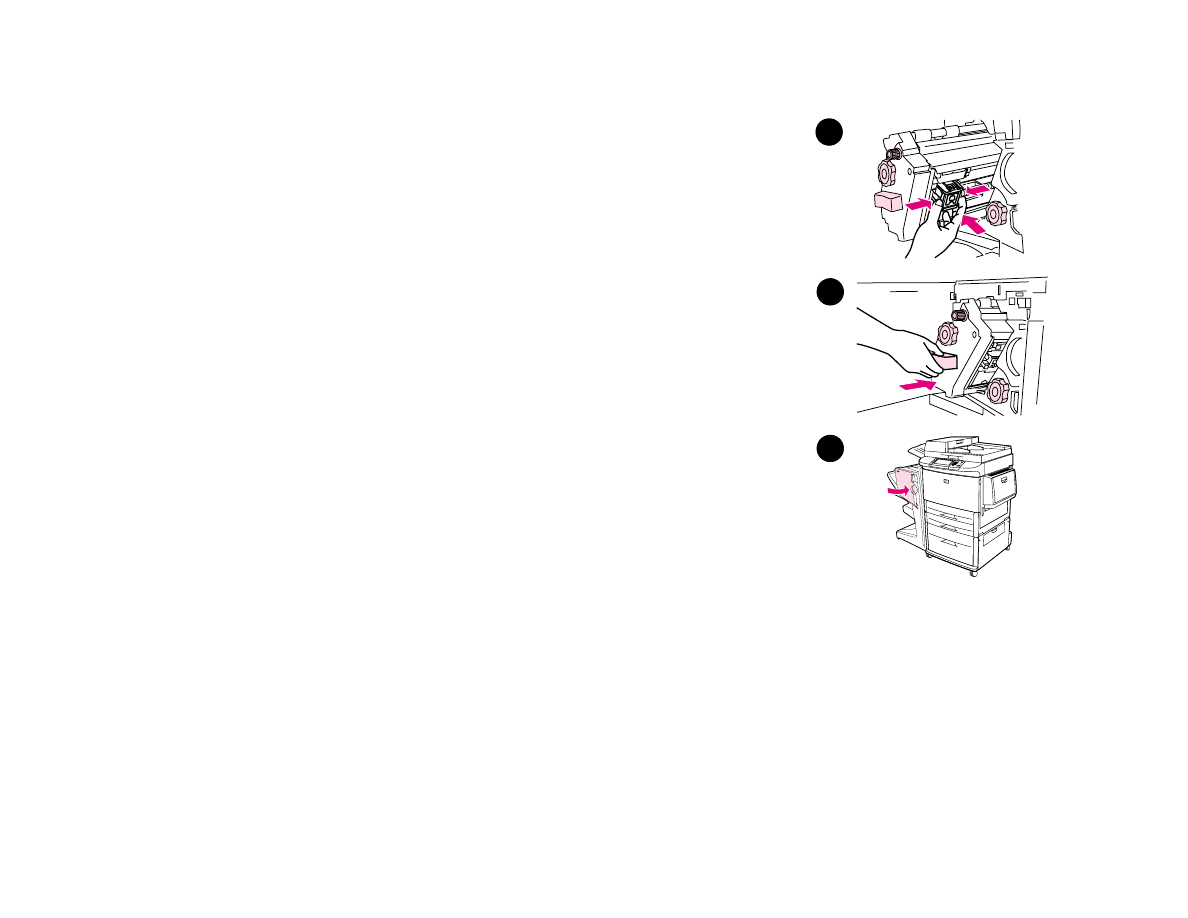
5
Remove the damaged staple.
6
Press down on the lever labeled with a green dot.
7
Reinstall the staple cartridge.
8
Close the stapler unit door.
7
5
6
7
8
7 Problem solving
111
Clearing jams
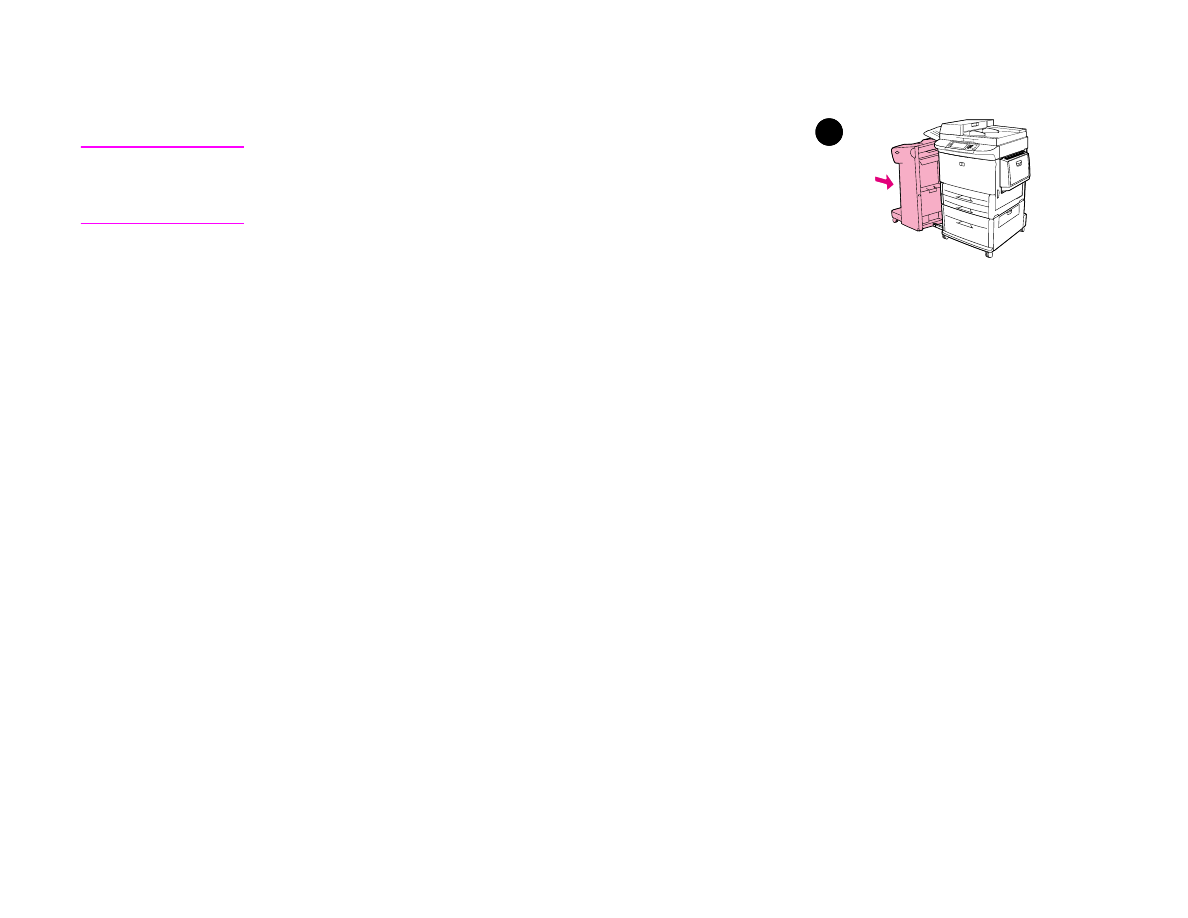
9
Reattach the stapler/stacker to the product.
Note
The stapler needs to reload after clearing a staple jam, so the first few
documents (no more than five) might not be stapled. If a print job is sent and
the stapler is jammed or is out of staples, the job will still print as long as the
path to the output bin is not blocked.
7
9
7 Problem solving
112
Clearing jams
To clear a staple jam from the multifunction finisher
1
Open the stapler-unit door.
2
Slide the stapler-unit toward you.
3
Turn the large green knob until the blue dot appears in the window of the stapler
unit.
4
Turn the small green knob at the top of the stapler unit counterclockwise until
the staple cartridge moves to the left of the stapler unit.
CAUTION
The blue dot must appear in the window of the stapler unit before you remove
the staple car tridge. If you try to remove the staple cartridge before the blue
dot appears in the window, you could damage the finisher.
1
2
3
4
7 Problem solving
113
Clearing jams
5
Remove the staple cartridge.
6
Pull up on the lever labeled with a green dot.
7
Remove the damaged staple.
8
Press down on the lever labeled with a green dot.
5
6
7
8
7 Problem solving
114
Clearing jams
9
Reinstall the staple cartridge.
10
Slide the stapler unit into the finisher.
11
Close the stapler-unit door.
9
10
11
7 Problem solving
115
Clearing jams
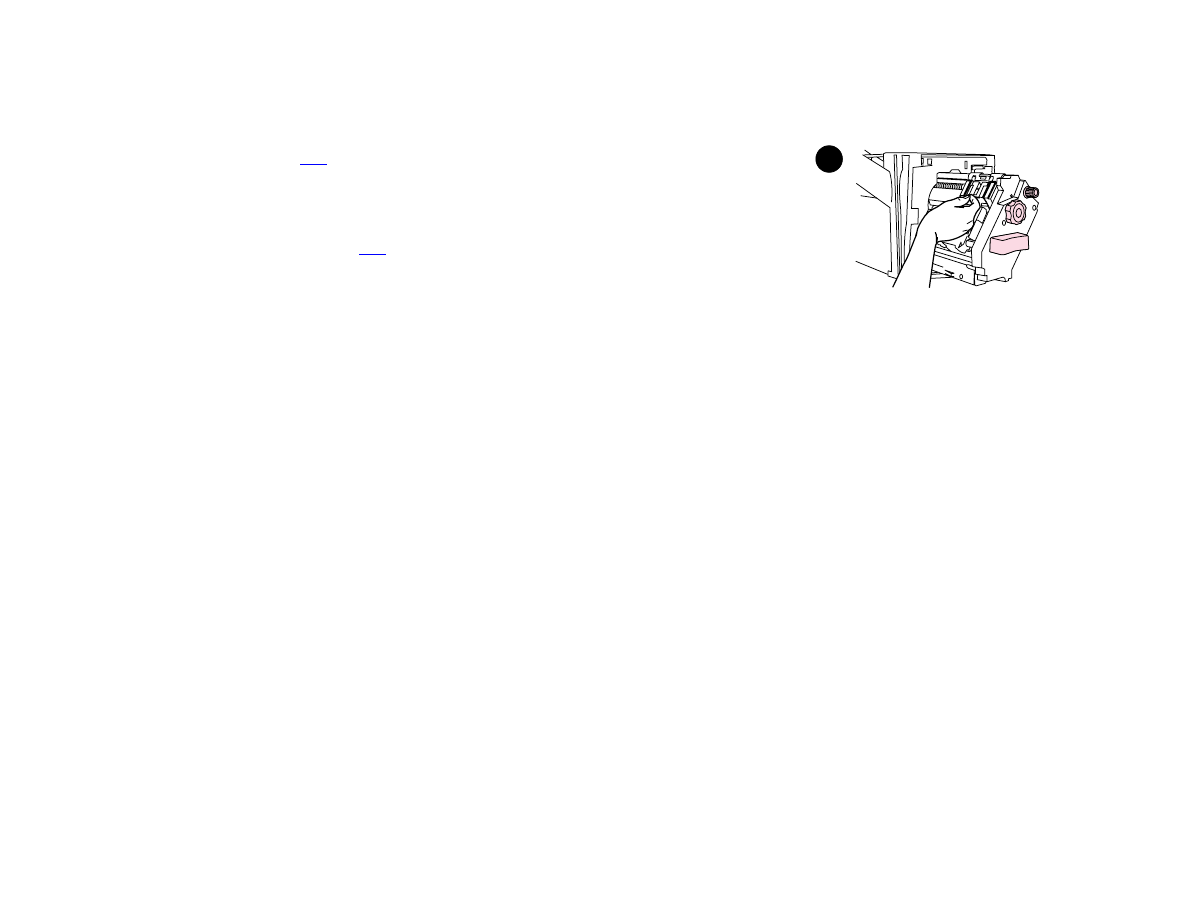
In rare instances, a staple jam might occur in the upper half of the stapler head.
1
Follow steps 1 through 4 for clearing a staple jam from the multifunction finisher
(see page
112
).
2
Locate the damaged staple at the back of the stapler unit, and then remove the
staple.
3
Follow steps 10 through 11 for clearing a staple jam from the multifunction
finisher (see page
112
).
2

7 Problem solving
116
Clearing jams